Showing posts with label tutorial. Show all posts

Saturday, April 4, 2015

Exploding Box

EXPLODING BIRTHDAY BOX

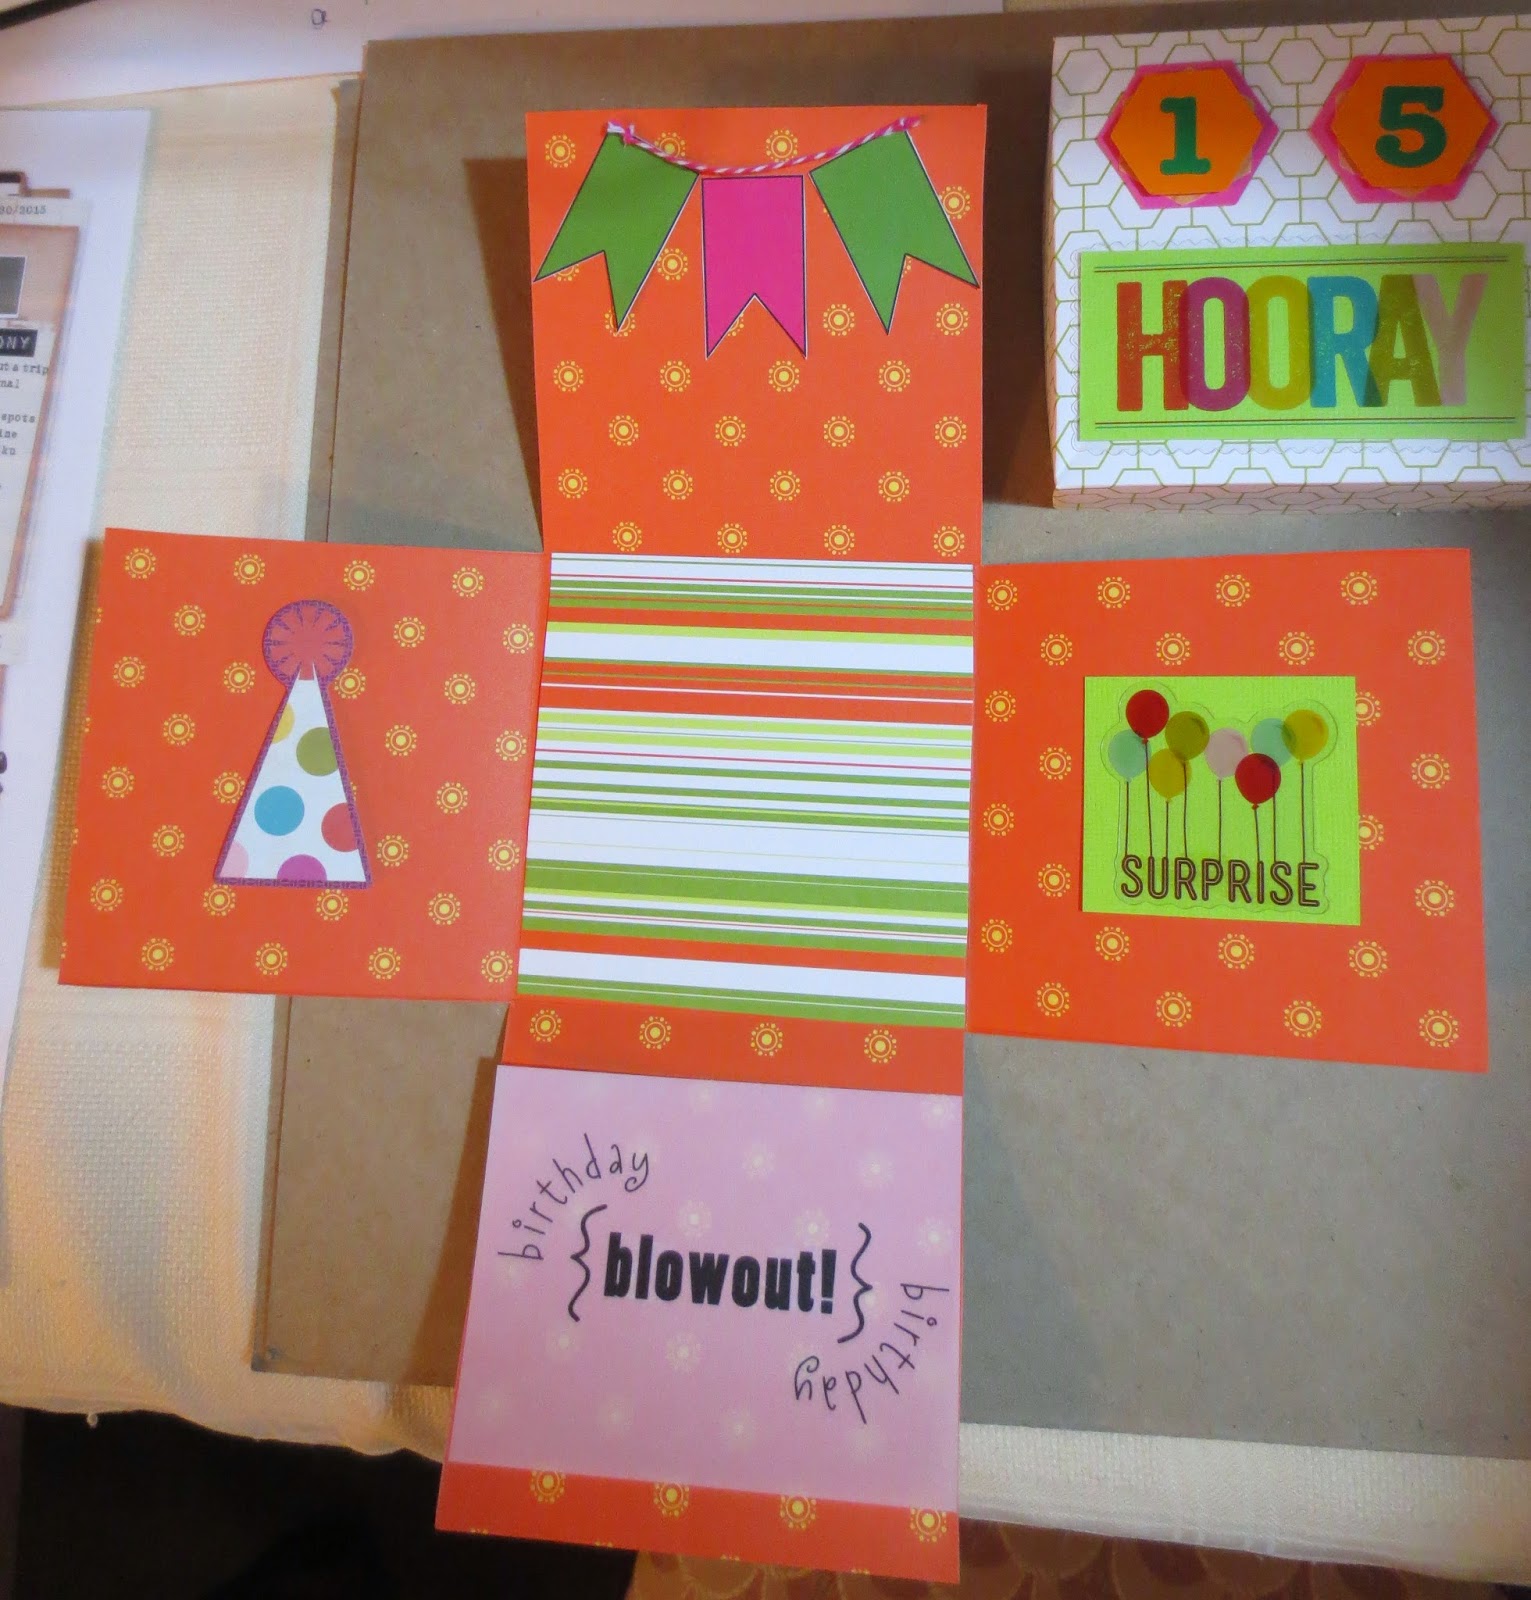
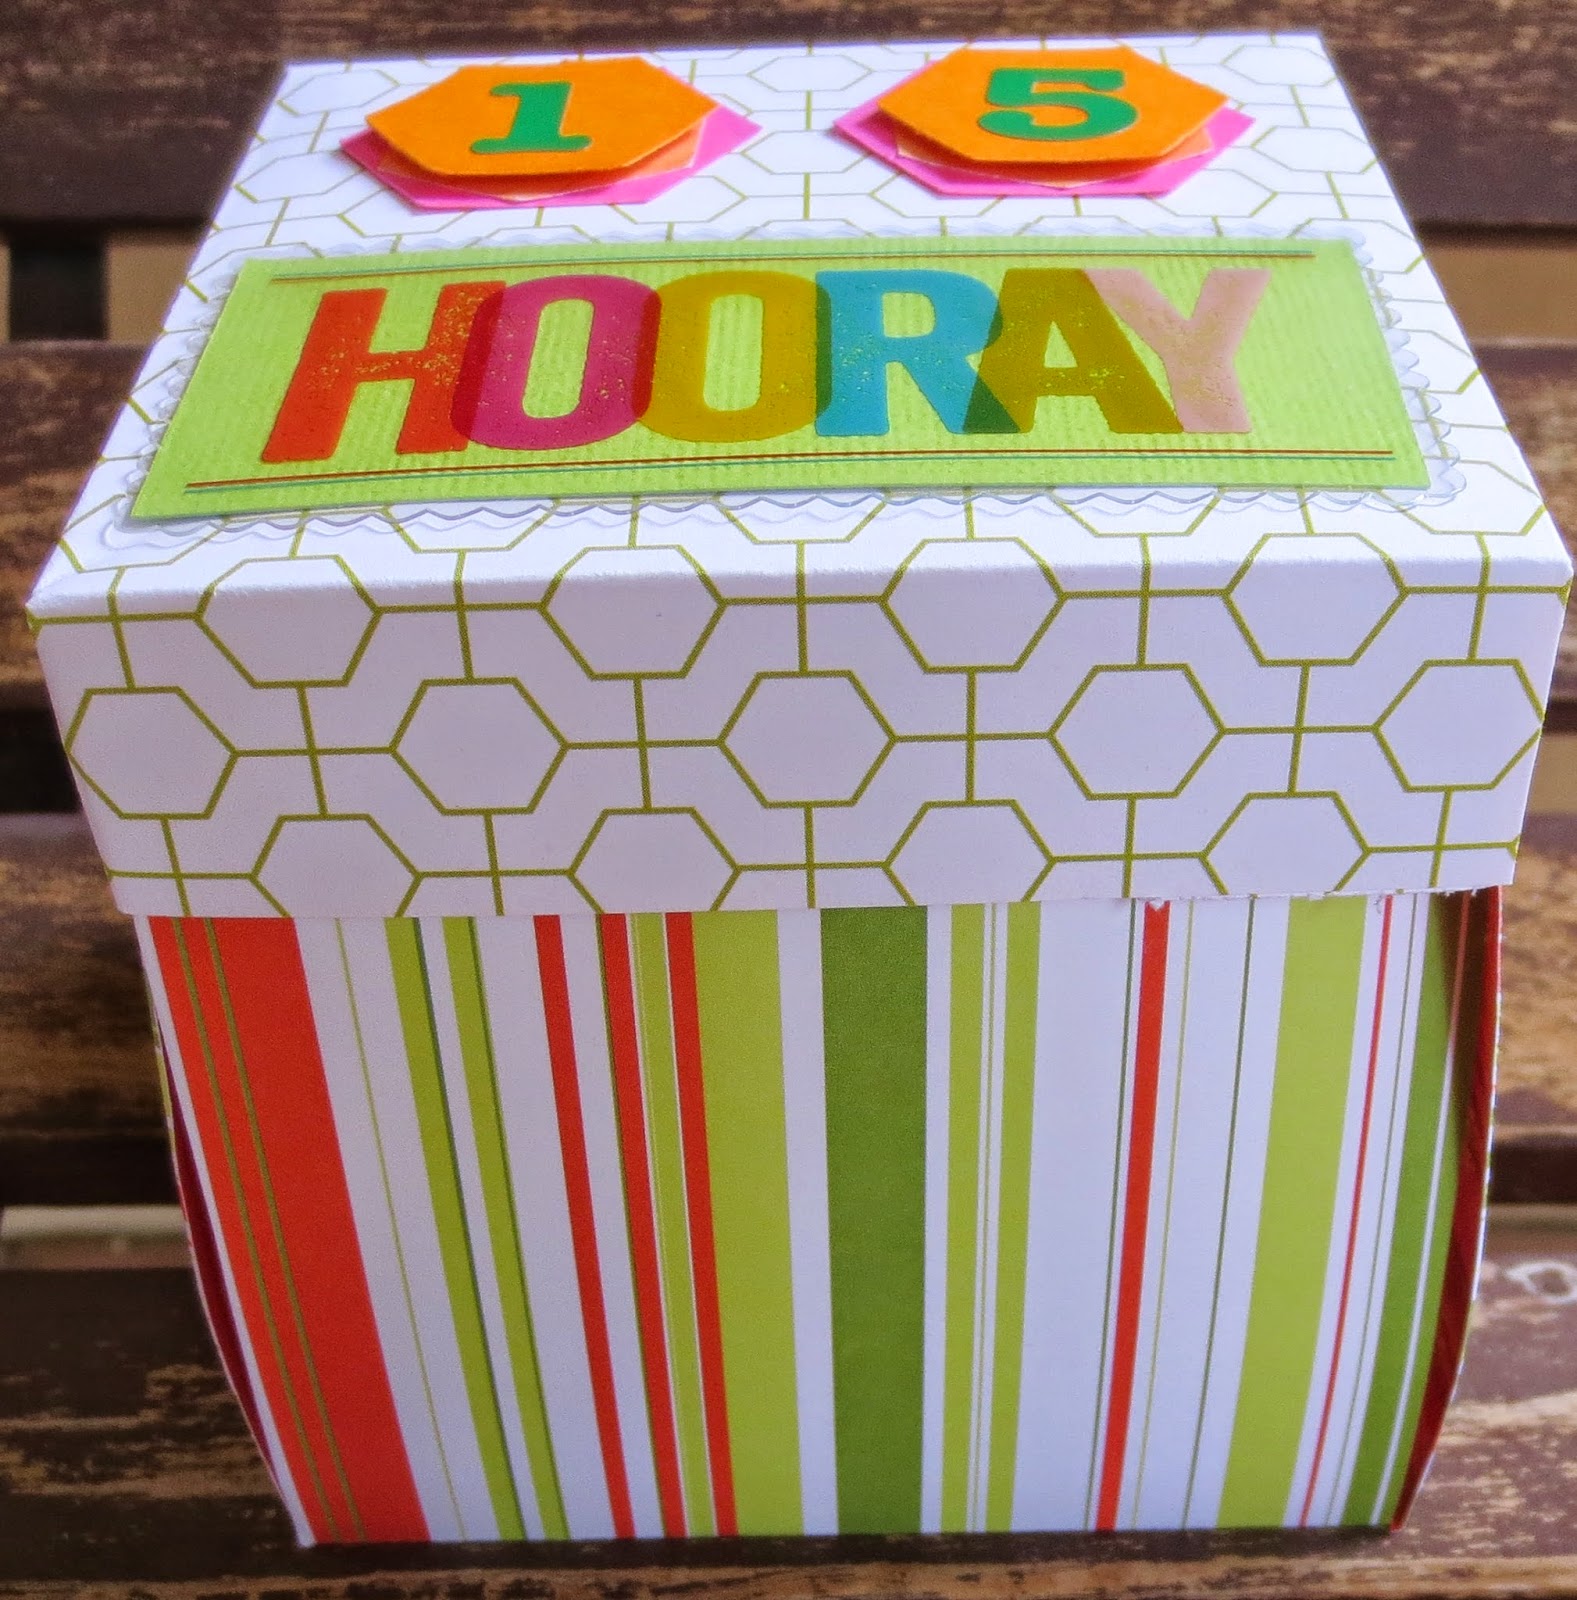
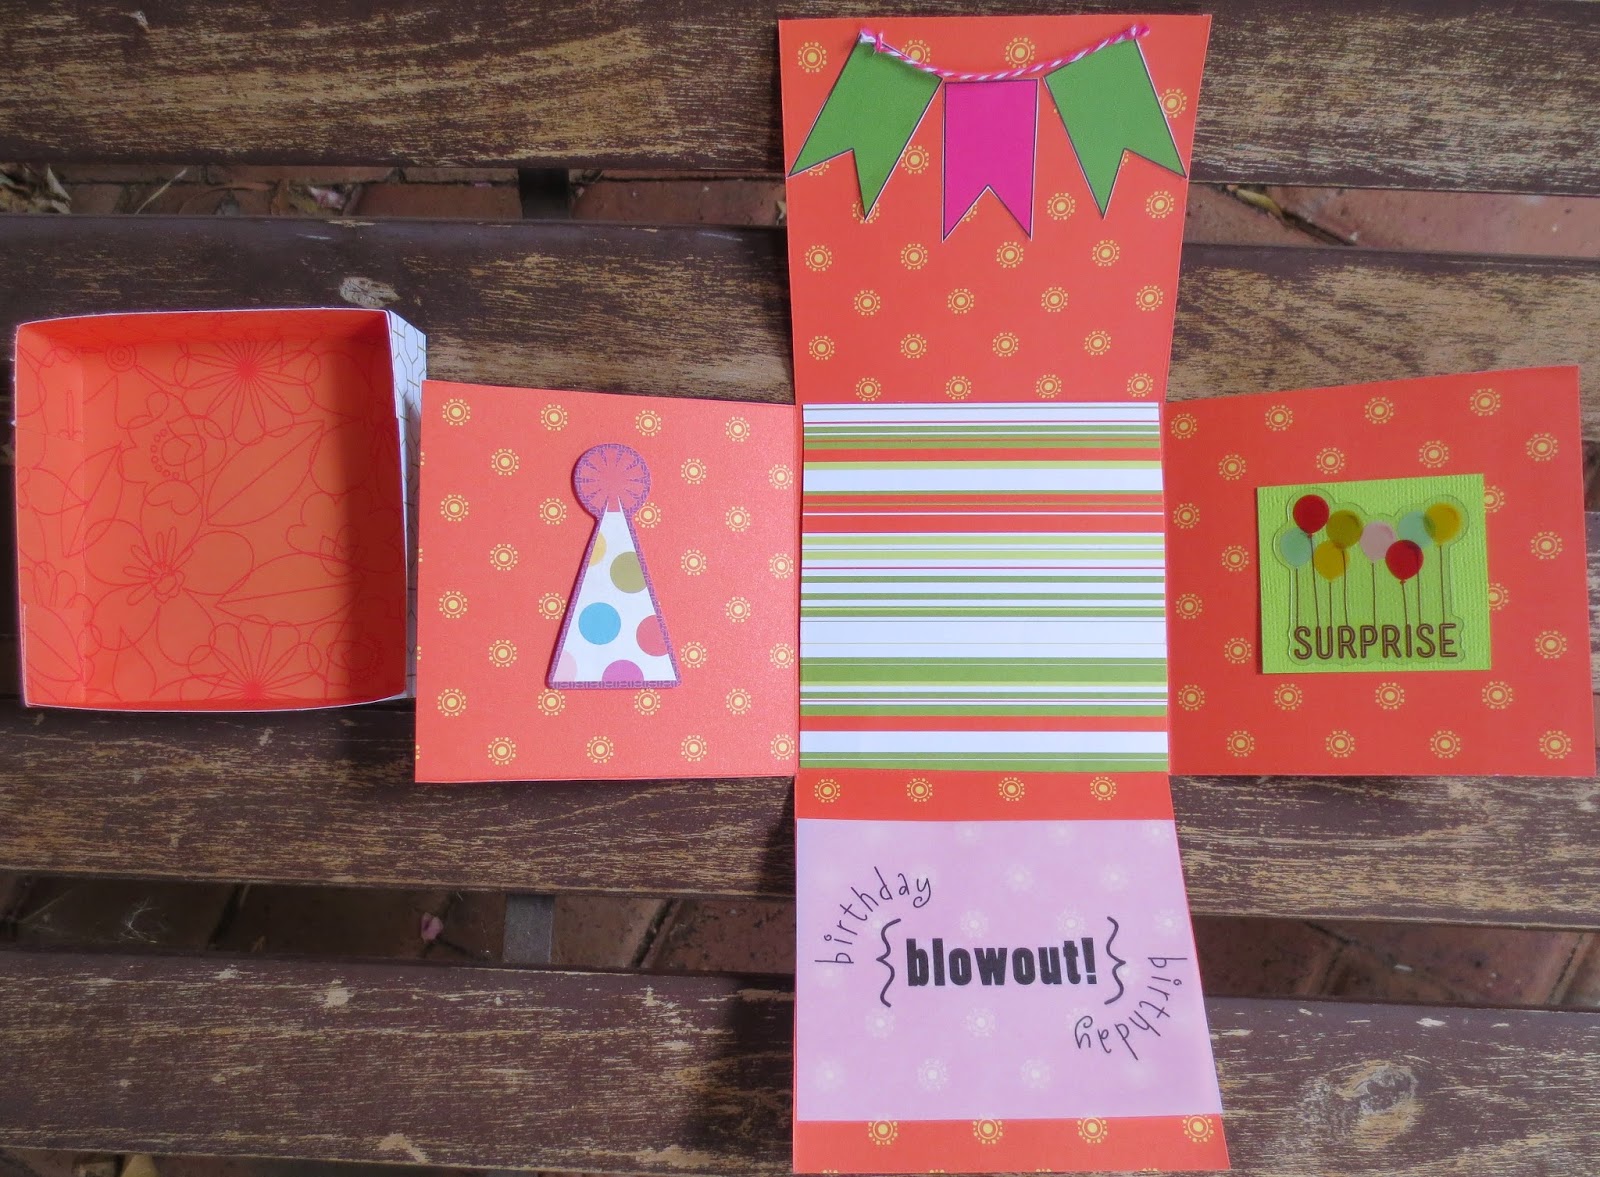
Today I have made an exploding box for my son's 15th birthday. I've used the colours pink, orange and green to go with ch#2 of Scrapbook Divas birthday challenge. I've used a tutorial done by Steph over at Papercrafter' s Corner.  I always thought these boxes were a bit tricky and too much trouble but her tutorial was really easy to follow and it was a lot of fun to make.

I hope my son likes it.


Monday, November 3, 2014

Pillow Boxes tutorial for Unstampabelles

This is my second month of designing for Unstampabelles. The challenge this month is to CREATE A BOX and show how you made it.

The other Designers have come up with a wide variety of wonderful boxes for  you to be inspired by. Perhaps you will want to create something completely different but do check out their work. Christmas is just around the corner and what better way to add value to a gift than to create your own gift box.

With that in mind I have a tutorial for you on my box, a pillow box. You can give a gift of jewelry, lollies or any small present inside these easy to make, customisable gift boxes.

Here is the final picture. I made one from kraft paper and one from patterned paper.


PRINTABLE TEMPLATE

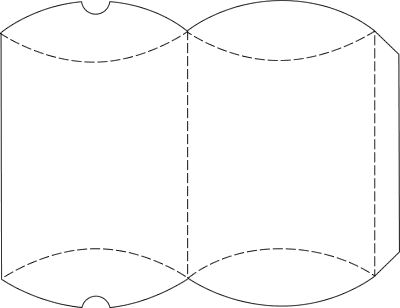
 pillow bag template
PILLOW BOX
MATERIALS:
•  kraft paper (or other cardstock or patterned paper) to print on
• scissors
• ruler
• 1″ circle punch
• strong double sided adhesive tape  

OPTIONAL:
• labels, stickers, or stamps to decorate
• ribbon, raffia, etc.

Print template on to cardstock.
Score along dotted lines.
Fold.
Use your circle punch on two opposing ends on the same side. Only use half of the punch so it makes a semi circle.
Decorate.
Apply double sided tape along edge to join together.
Continue decorating as desired.

Enclose present within, fold and there you have your pillow box.

STEP BY STEP PHOTOS


Sunday, July 13, 2014

Published in July 2014's Scrapbooking.com edition

PUBLISHED SCRAPBOOKING LAYOUT


Check out my published layout and tutorial in this month's edition of Scrapbooking.com, a fabulous online magazine. My layout is entitled Footy Star and features my son Mark.  Click here to go directly to the article.


Friday, February 7, 2014

Off the Page caravan - how to

This month at Archiscraps the challenge is to be inspired by this photo, added criteria is use colour blocking and holiday photo/s.

I have included a tutorial on how to make an off the page caravan album. See the post here.


This is actually a building made out of containers, a caravan and I even see a tractor and a car. Crazy, right?

Here is a pic of my caravan album.


Head on over to Archiscraps to enter for the chance to win this month's prize from Scrapbooking Delights.


Saturday, August 31, 2013

Budget paint tutorial for Mystical Scrapbooks

Head on over to the Mystical Scrapbooks blog today to see my easy and inexpensive tutorial for using paint on your page.

Here's a little peek. You'll have to click on the link to see the final layout.


Thursday, March 14, 2013

Cooking with Shapes challenge for Soul Scrappers (includes Tutorial)

Here I go with my second Design Team challenge at Soul Scrappers.

I have chosen to do Cooking with Shapes. We all use shapes every time we create. I have chosen to focus us using a lot of them in one page.

Here's the criteria:


S -  Swirl
H - Half (I'm thinking half a shape, maybe an artisan paper or die-cut)
A - Arch or Arc (your choice)
P - Pie chart
E - Embellished shape of your choice
S - Shapes (I have used lots of scallops, some stars, swirl as required, zig zag and squares)

I started with a Creative Memories quick album page for School. It already had the yellow background with lots of circles, a scallop edge, a rectangle with curved edges and a zig zag pattern and a swirl. A great start. Then I cut a blue artisan paper with scalloped edge and added it to the left of the page. I laid out my photos and added the scallop sticker to the left hand side, then stuck down my photos.

Next I made my pie chart with my Creative Cutting circle system from Creative Memories. I also used a die-cut from the CM School quick cut, this is my arc shape which also has circles on it. I added some AC thickers with Swan. I added my title and a star sticker. I also added a Crate Paper Chipboard piece that had a star as well.

Lastly, came my journalling. This was a pretty quick page as part of the work was done for me. The pie chart took the most time with the measuring and cutting. Another School page for Mark's album completed.


I hope you can join me in this challenge. Just head over to here to join in.

P.S. Don't forget the challenges at Archiscraps and From screen 2 scrap. They both only have two entries so far. We'd love to see some more. Also, your chance to win a prize is very high.

Sunday, December 2, 2012

A Christmas Layout - Santa's Helpers plus a RAK


This month's movie poster at From Screen 2 Scrap is "This Christmas" (see below for pic of poster). The criteria is:

1pt = Use the technique 'Tearing' on your page
2pts = Red Card Stock
3pts = Use a Family photo

Don't my boys look cute as Santa's Helpers?

To create the tree:


I have torn four different types of Christmas papers that were one-sided and had white as the core. This gave a bit of definition. I've used brown cardstock as the trunk and wrapped some red cardstock around it to make a kind of candy striping effect. I've used some Pink Paislee Bayberry Cottage stitched fabric as the base. The star is a photo paper type embellishment that had a tearing effect around it which I thought suited my tree. To trim the tree I've used some Creative Memories glitzy embellishments which are stickers. Then, I have added some "fairy lights".


I have also provided a RAK this month. Here is a pic of what you could win. The last two I put together were quite girly so I have done a boy's one this time.

Just one of the many prizes. I hope you have a go at this. Tell Shazza if it is your first try at From Screen 2 Scrap and that Dale sent you.
Thanks.


Wednesday, October 3, 2012

Published - Anniversary layout including tutorial

October 2012 - Published layout

This month I have a layout published in Scrapbooking.com magazines feature on anniversaries. See this link for full details. I have made a step-by step tutorial. I'd love for you to take a look. The layout is of my wedding anniversary.

Other topics for this month are cooking and Halloween.

Monday, July 2, 2012

Published in Scrapbooking.com, out now


The July issue of online mag Scrapbooking.com is available now. I have another article in it, click here to view it. It's called Really Big Airport and I've used paint and a doily to create a great effect on my page.  There are step by step instructions and photos for you to create your own version easily.

This month's issue focuses on vacations and holidays, Americana, The Olympics and fun in the sun. Why not check it out.

Saturday, November 5, 2011

Tutorial - Paper Tear Flower

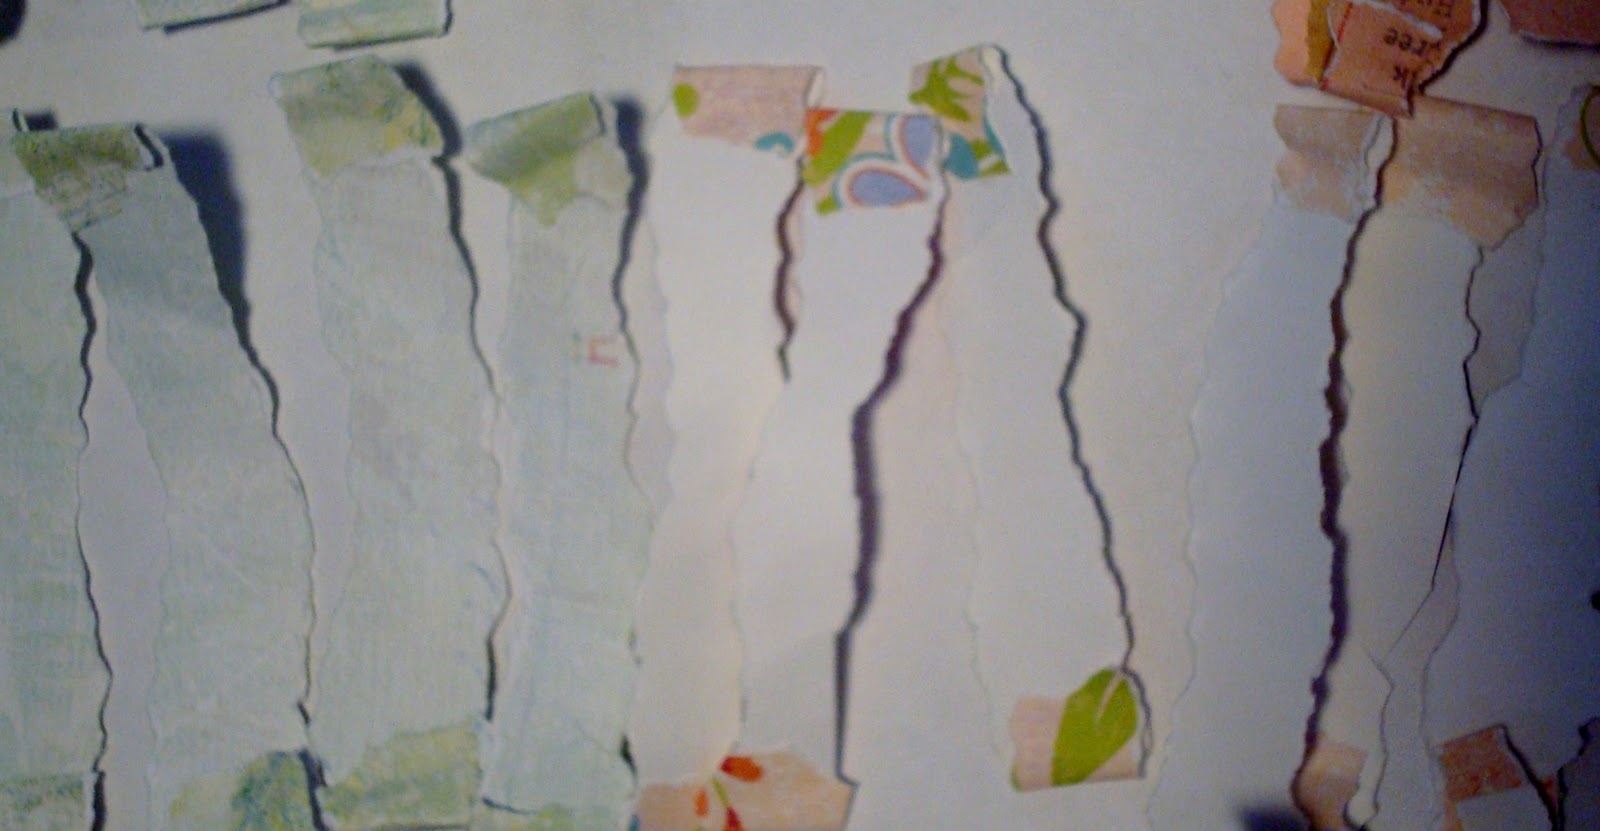
Today (and part of last night) I made 9 x Paper Tear Flowers. At least, that is what I am calling them. I had a bright idea of tearing strips of paper up to make some flowers. Here's how I did it. (Please forgive the photos. even though it is spring is it dull and rainy here.

First, choose 3 complementary papers that are fairly thick and have a white inner (not dyed all the way through). Choose a length that you want and sit there tearing up strips. I had a tool to help me. I used a Creative Memories tearing tool. Made this job a little quicker.


Then I decided that I would turn the ends over and glue them down to create a little lift on the ends.


Set to dry.


 Then layer the 3 papers until you have created a flower shape, leaving the turned up edges underneath. (not the like one on top as you can see it is no good this way)


Choose another complentary piece of thick paper with a white centre and tear some circles for your flower centre.


I've used another Creative Memories tool, this time a punch. It is a splat punch.  I have a lot of Creative Memories tools as I used to be a Consultant. They are really excellent tools. I've placed the splat over the top of the circle to create a more realistic flower.


Now you just need to push a hole through all of the layers in order to put a brad through to hold it all together.


Here is the final result.


I've made these flowers as part of Amandas Scraps Swaps for November. I chose the theme of flowers and these are for the embellishments choice. I only needed to make 5 but I made as many as I could with the amount of torn paper that I had. I'm sure these will come in handy. They'd probably be nice on a card.

Monday, October 17, 2011

Guest Designer at ARTastic challenge blog - TUTORIAL for Brother layout

Hi everybody. I'm back from my 3 week vacation to California. I'll do a post about it so you can read about what we did.

Meanwhile, I'm pleased to say I was invited to be Guest Designer at a favourite challenge blog of mine, ARTastic, which is run by Shazza Bishop.

I created the layout for it on 27 August in preparation for going away and am only just now able to put up a post about it. If I had more blogger nous I could have done one ahead and scheduled it but as I've not done that before and was busy I didn't try it with something important like this.

The inspiration painting used for the month of October 2011 is

Dr Jekyll's Hideway by the artist Maryanne Jacobsen


Extra criteria is:
1. A house =  1pt 
2. Trees = 2pts
3. A spooky feel! = 3pts


Above is my layout. I was into using Basic Grey that week. I've created a layout featuring my brother Dean and I on his birthday.

I started with a background of Basic Grey Max and Whiskers/Gannett/max-2455. I liked the varied colours and needed paper with green to make a sort of scene.

I then took a tree mask and glimmer misted 4 trees on to the paper. One blue, one wheat and two white. In the second pic above you can see the white trees. I thought they created a spooky feel and it satisfied the second criteria of trees.

I've cut a strip off Basic Grey laser cut doilies paper and added it along the bottom to create some greenery.

Then I've used a Dusty Attic Main Street chipboard house, just cut one off the strip. I've painted it and tucked it into the doilie paper.

I had an offcut of Making Memories Artisan Toile Greenhouse Paperie paper but it was too bright against what I had already so I've used a black ink pad to darken it up. It then matched really nicely with the clothes we are wearing in the photo. I adhered that to the page.

I mounted my photo on to some Basic Grey Origins/authentic pp. I placed a strip of Darice Oh So Trendy sage ribbon across the page and adhered my photo down.

I took some scrap BG paper, rubbed on a Creative Memories word sticker, cut it to fit behind Making Memories Vintage Findings mini kit nature piece  for my title. It had brads so I used them to attach it to the page.

I've used more scrap of Kaisercraft Hunt and Gather PP to punch a strip and placed it underneath the photo. Then I've just added some sticker strips from BG Olivia and BG Oxford Element stickers and journalled and I was done.

Thanks to Shazza for having me as Guest Designer this month. I have assembled a glitter prize pack to give away and will be choosing the winner. Please have a go and mention that I sent you if you're new to the blog.  Just go to http://artasticchallengeblog.blogspot.com/2011/10/october-inspiration-will-come-from.html to have a look. You'll see the other prizes on offer and what the Designers have created. Make a blog post and link it up. You stand a good chance of winning something. Best of luck.

Tuesday, April 5, 2011

Tutorial at Scrap Tiffany - Serendipity Square by yours truly

Today is Tutorial day at Scrap Tiffany and today's tutorial is by me. I chose to do Serendipity Squares. There are details instructions and photographs that show you just how to make them. Just click on to the link below. Enjoy.

http://www.scraptiffany.com/blog_tiffany/2011/04/t.html